Welcome to
Block Printing Patterns
Supplies
Included in kit:
EZ Carve block
Fabric Ink
Brayer
Speedball Carving Handle + Tip
Pencil
Gloves
Assorted Fabric
From around the house, gather:
Work clothes! you might get inky
Scrap Sketching Paper
Marker (optional)
Soap for cleanup!
Exacto Knife, Utility Knife, or scissors
Prepare a drying space for your prints: pant hangers, clothesline, or any flat space they will be undisturbed
Print Baren or: Rolling Pin, Pint glass/any smooth sturdy cup, or Wooden spoon for printing
Space Setup
Piece of glass/plastic for rolling ink (parchment paper, plastic plate, of picture frame, cutting board, flat plastic packaging)
Printing space - flat, hard surface, cover with paper
Block Printing Basics

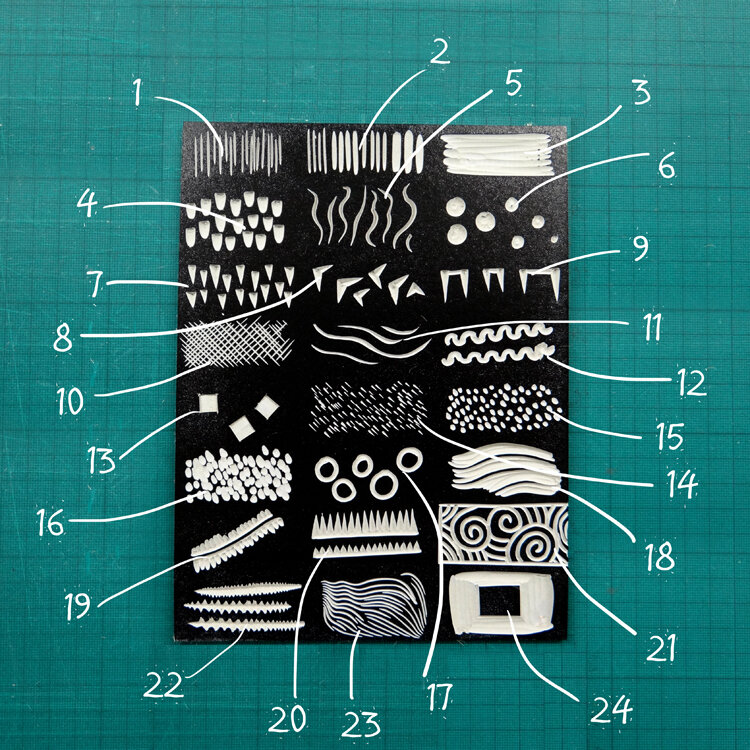
GOUGES
Gouges come in a variety of shapes and sizes. The shape of the gouges is most apparent at the tips of the lines they carve.
When carving, ALWAYS CARVE AWAY FROM YOUR HANDS
about linocut tool ideas and options
Little Ram Studio
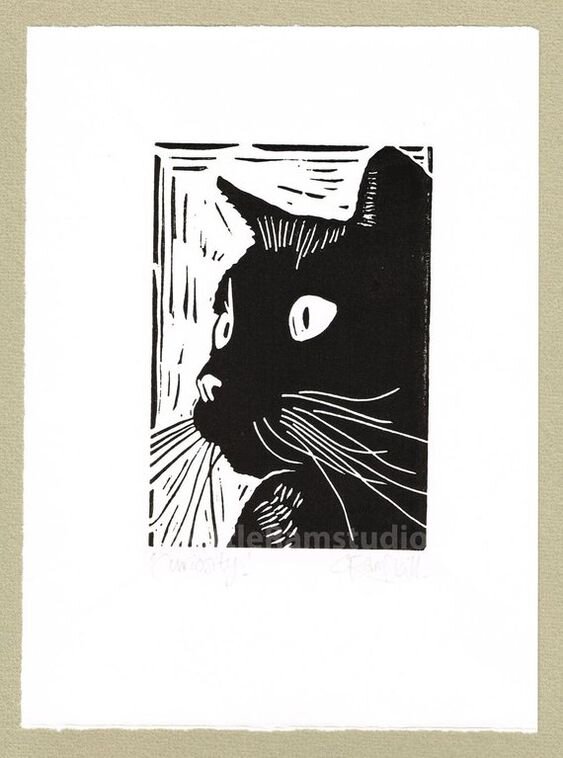
Think about…
WHITE LINE -creating lines by carving out material, see whiskers on right
BLACK LINE - creating lines by carving out everything around a drawn line - see background marks, left whiskers
Block Print Artists for Inspiration


SARA REED MCNAMARA
We love the way she uses negative space and repetition to create stunning geometric patterns!


BLOCK SHOP TEXTILES
Block Shop is well known for their simple, minimal, contemporary prints. They use a lot of arches and circles, iterated with small variations


FLORA + FUNGI
Kaleidoscopic repeats of nature imagery swirl in Amanda Derocher’s prints. Her intimate knowledge of plants sprouts from her herbalist training.

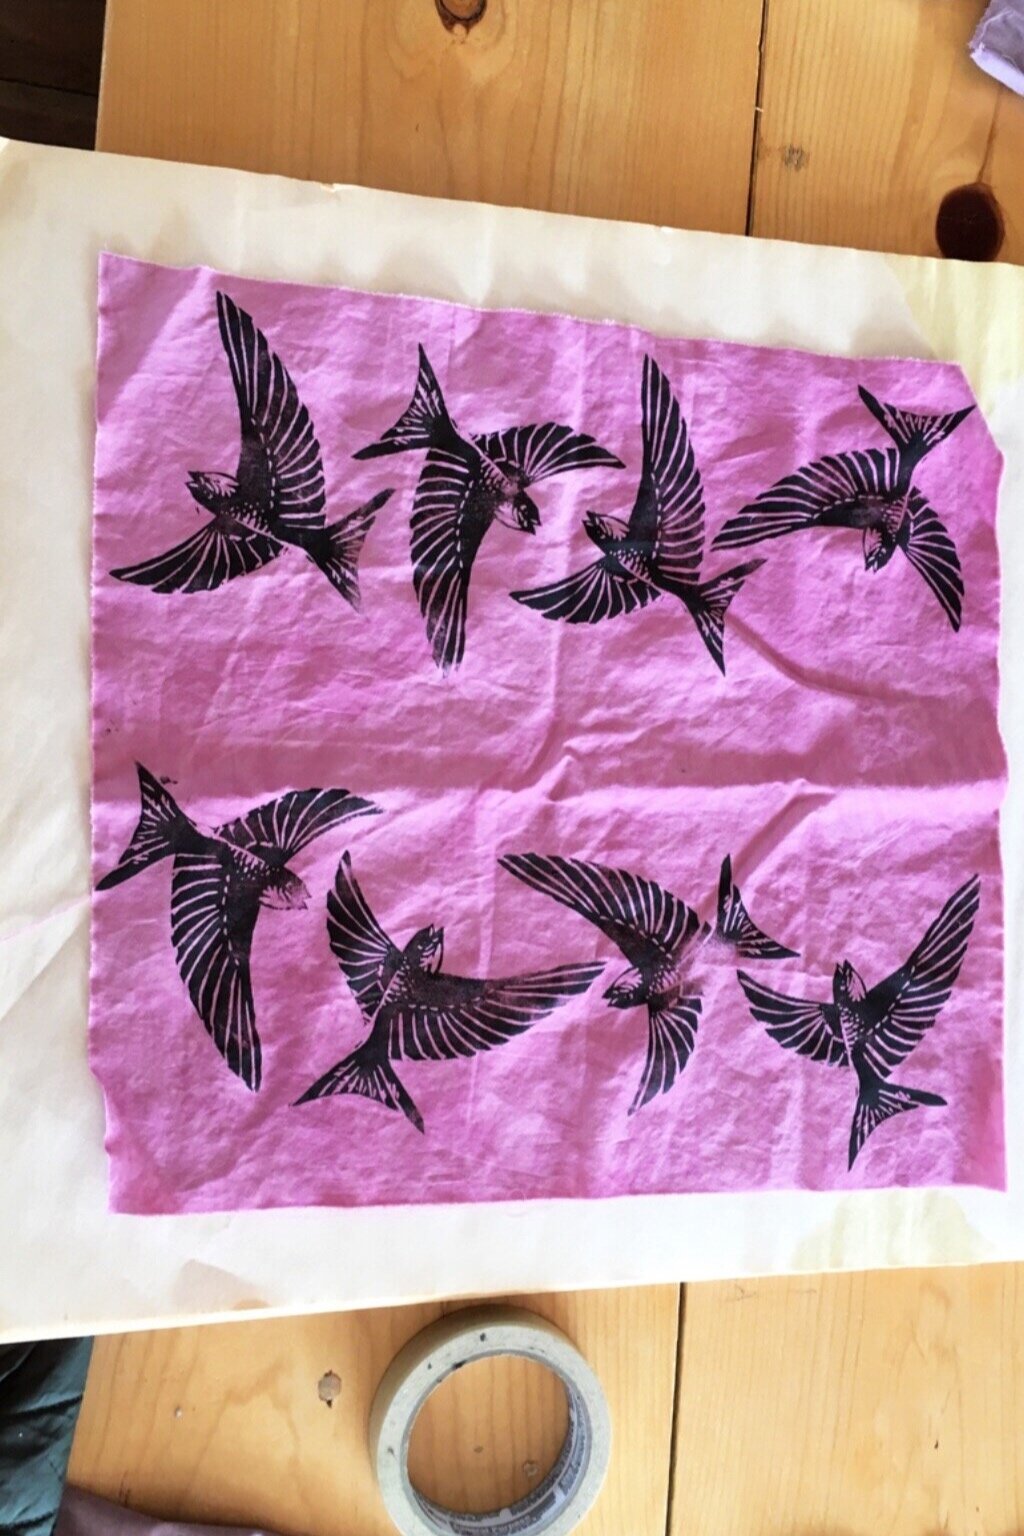
‘Tile’ patterns


Choosing a Shape
see “flash sheet'“ for ideas of simple motifs that will function beautifully year round
Think about how to use your block - can you get more than one shape out of it?
-Sketch on paper first, then transfer to block
-Don’t forget that when you print, the design will be reversed - so carve text backwards
-Grab knife/scissors cut out shape
-Carve to add detail
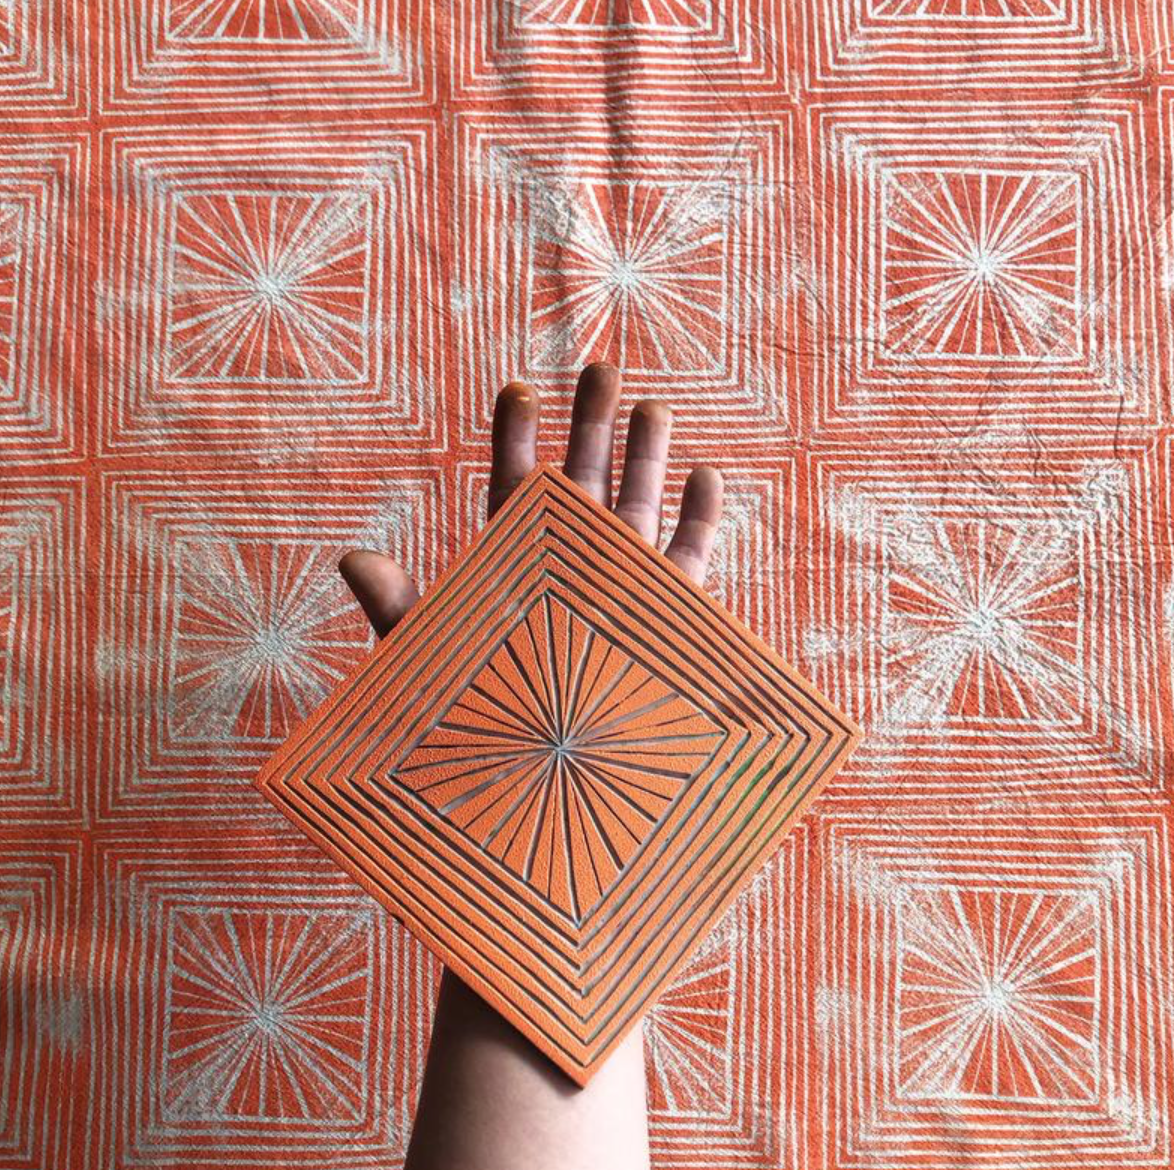
PLANNING YOUR COMPOSITION

There are infinite patterns to be made with any one shape
Be as mindful of the space between prints as the prints themselves

As an alternative to using a silhouette shape, you can also design and plan a repeat based on a grid. to do this I would recommend cutting your block to a square, and using a yardstick
Printing Your Block
1.On a piece of glass/plastic, squeeze a thin line of ink at least the width of your brayer. Gently roll brayer through ink and draw ink down, working back and forth until the ink is evenly distributed on the brayer.
2.Roll inked brayer onto block. Hold the block up to the light and check that the finish is even, there are no edges or dry spots showing in the wet ink.
3.Spread fabric onto protected surface (throw down some newspaper onto something hard and flat).
4. Flip block upside down and place on fabric.
5. Push with the ball of your hand, or use rolling pin or glass to distribute pressure evenly across the entire block.
6. Peel block off of fabric and check print!
7. Allow ink to dry overnight and allow a week to air cure before washing
-If the ink is not a flat consistent black, check your inking before printing. Then, check your printing surface- if it’s not totally flat, imperfections can occur.
-If your fine lines start to disappear- dig them deeper!
-If lines ink up that you want to eliminate, carve out or cut block.
Finishing Your Cloth Gift Wrap
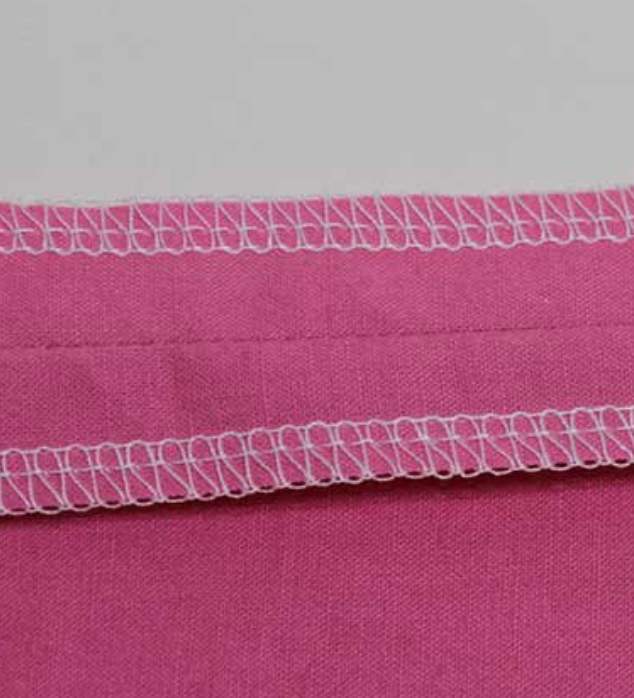
-Straight Stitch with 1/4in seam allowance- raw but controlled edges
-Serged / Zigzag Stitch
-Rolled Hem
-Pinked
