Welcome to
Block Printing Birds
Supplies
Included in kit:
EZ Carve block
Block Printing Ink Ink
Soft Rubber Brayer
Lino Carving Handle + Tips
Practice Paper
Chipboard
Pencil
2 Sharpies
Paperclips
From around the house, gather:
Wear clothes that you can get ink on
Piece of glass or plastic for rolling ink on (parchment paper, plastic plate, glass from a picture frame, old cutting board, flat plastic packaging)
Exacto Knife, Utility Knife, or scissors to help shape your block and cut your chipboard (this will help you cut coarser lines than the tool you received in your kit)
Optional – material to put pressure on your block such as a Print Baren, rolling pin, pint glass or any smooth sturdy cup, or wooden spoon
Optional- string, swine, fishing line to create and customize a mobile of your prints. Paperclips are included to attach pieces but you can substitute these other materials.
Optional-hole punch or thumbtack to add holes to your prints. We will talk about how to punch with the paperclips, but if you have these other tools they may be easier to use.
Soap for cleanup!
Space Setup
Surface for rolling ink: parchment paper, plastic plate, old picture frame, cutting board, flat plastic packaging
Printing space - flat, hard, covered surface
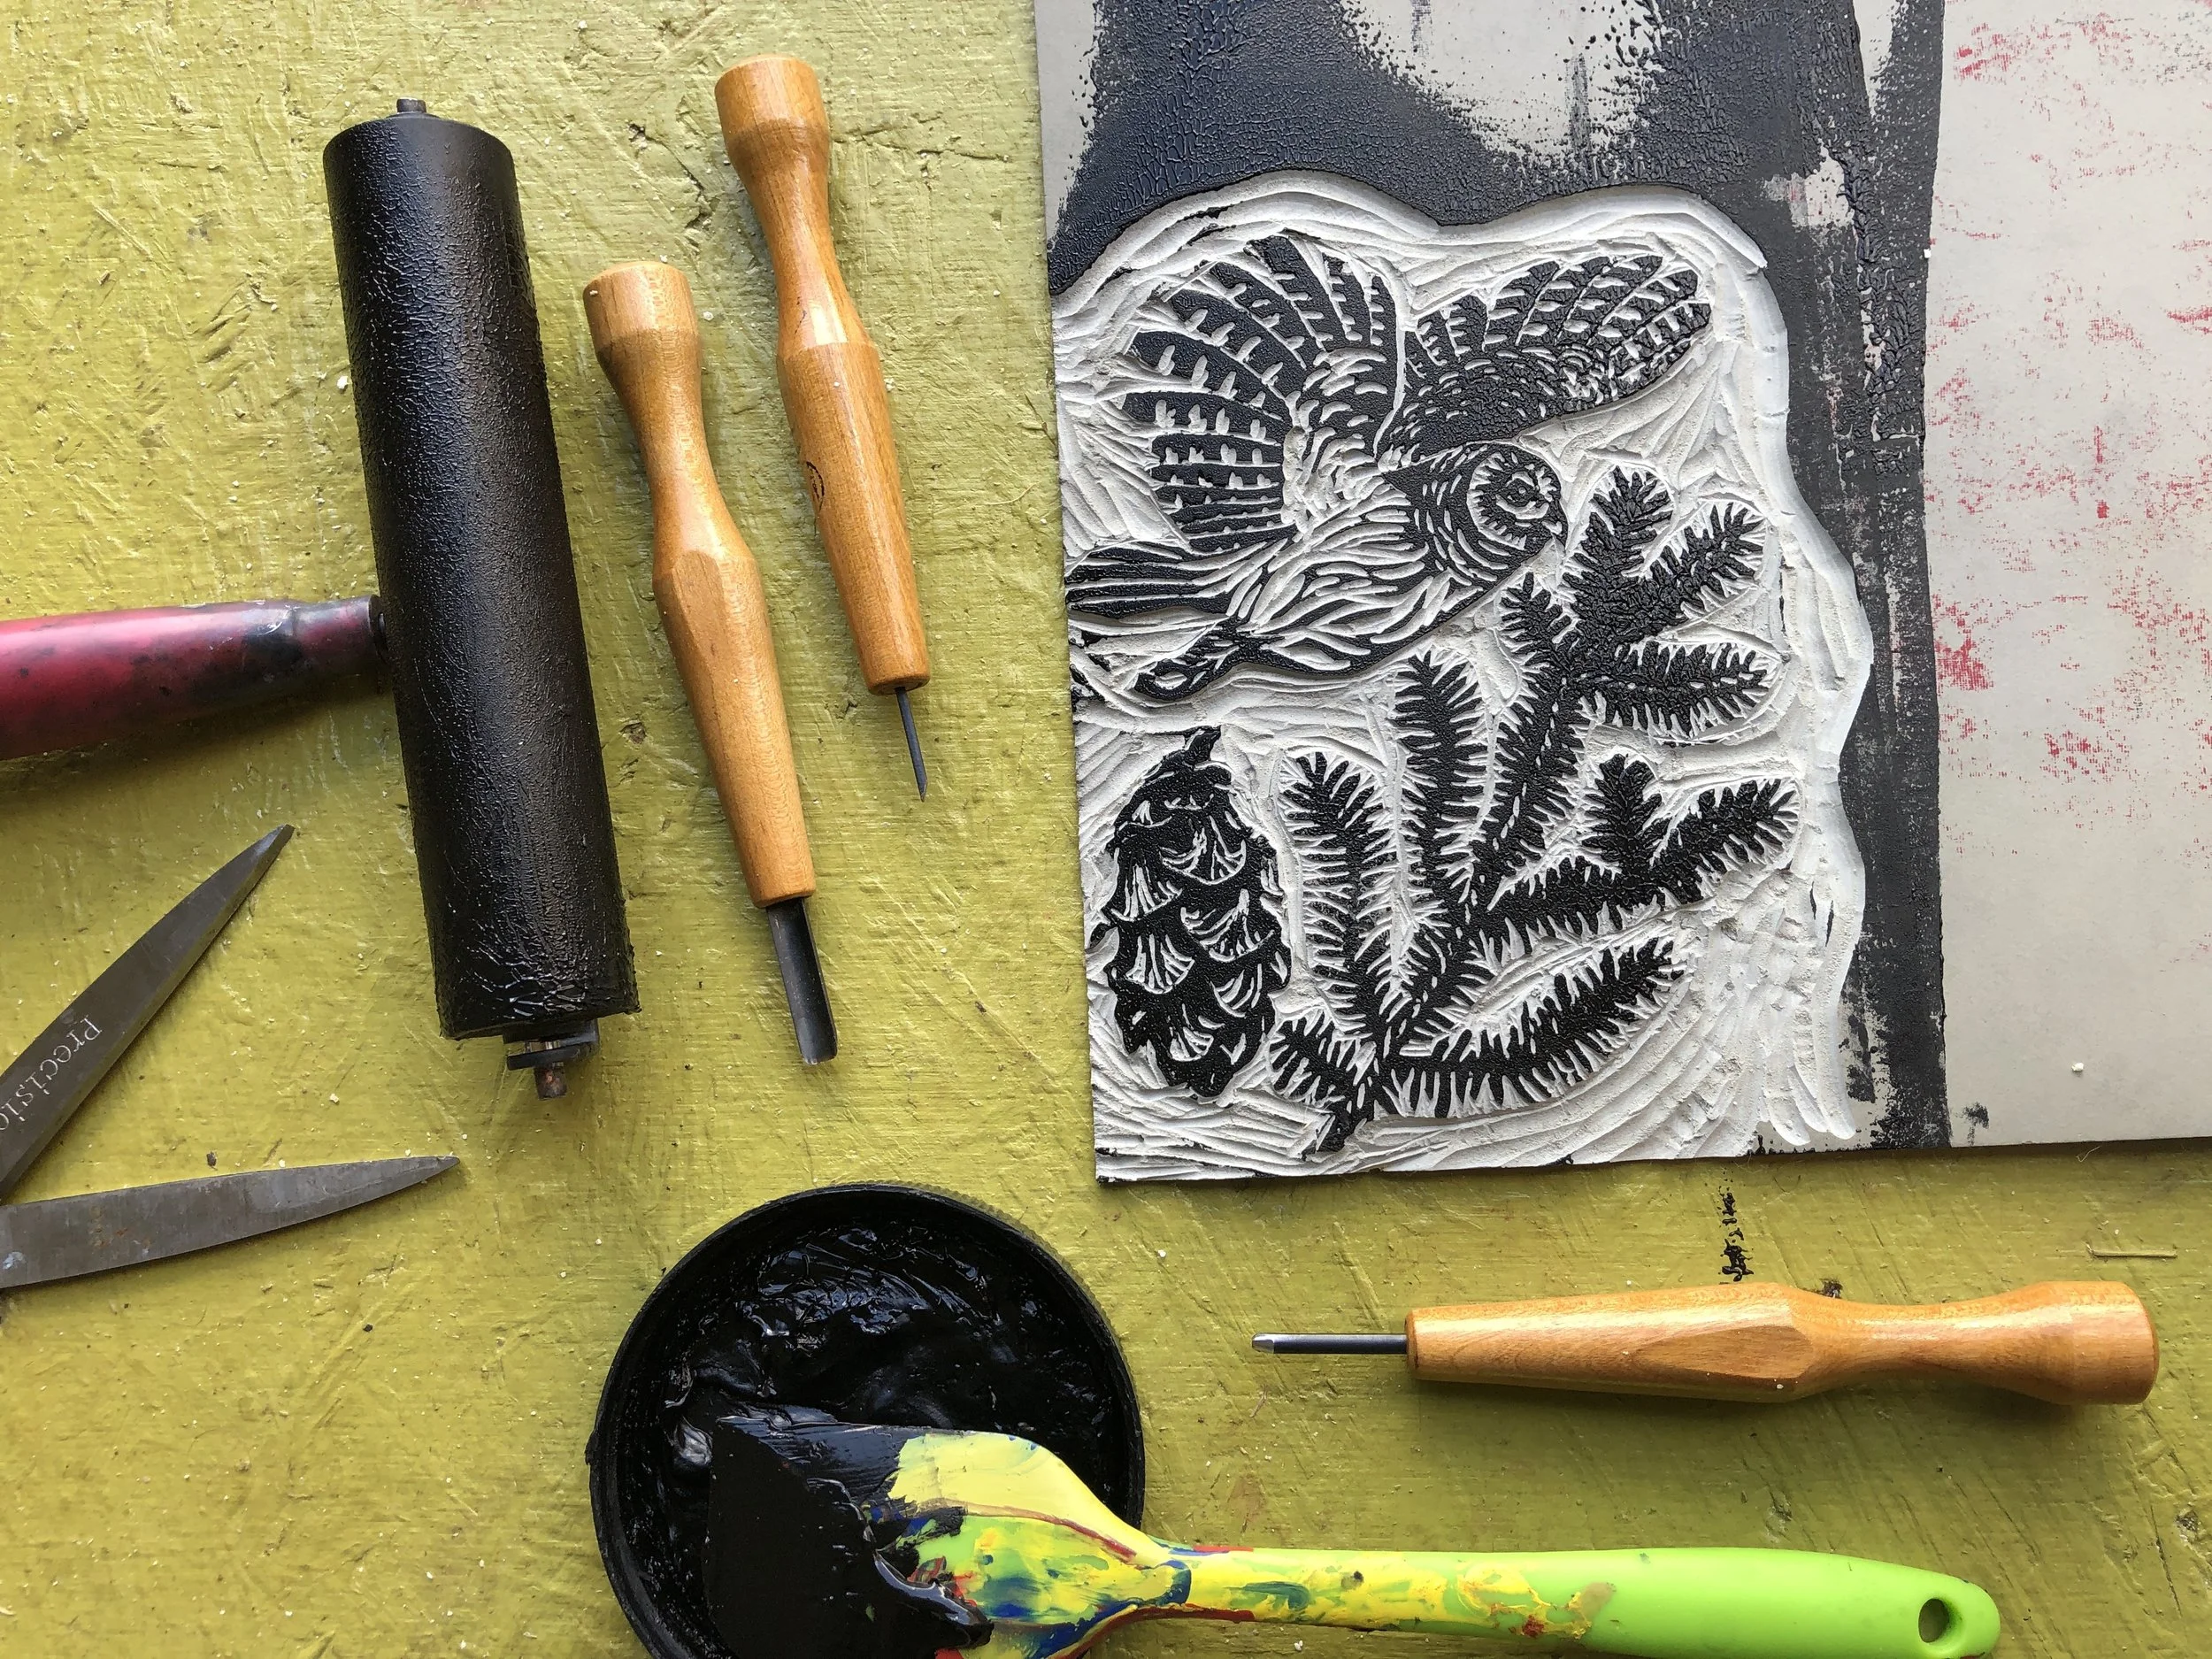
Block Printing Basics

GOUGES
Gouges come in a variety of shapes and sizes. The shape of the gouges is most apparent at the tips of the lines they carve.
When carving, ALWAYS CARVE AWAY FROM YOUR HANDS
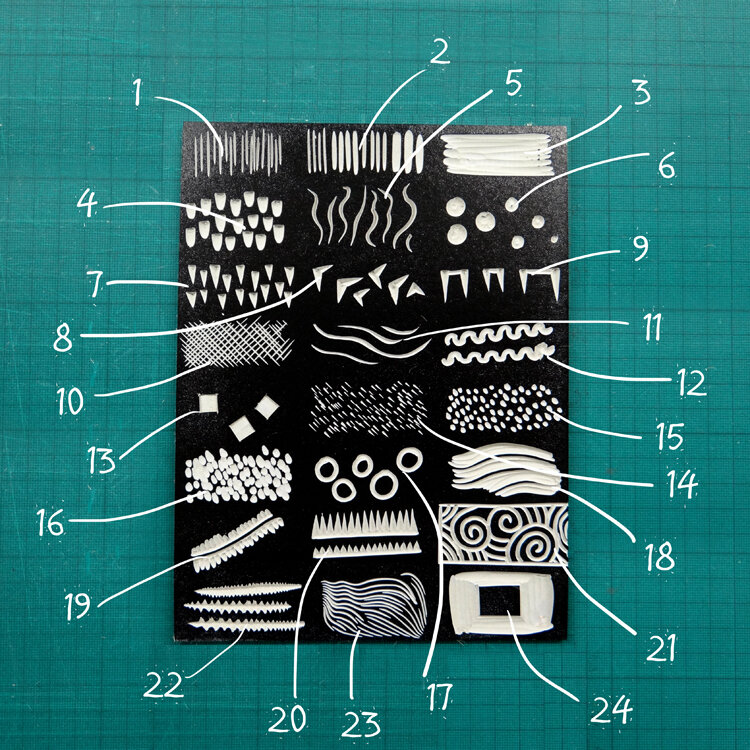
about linocut tool ideas and options
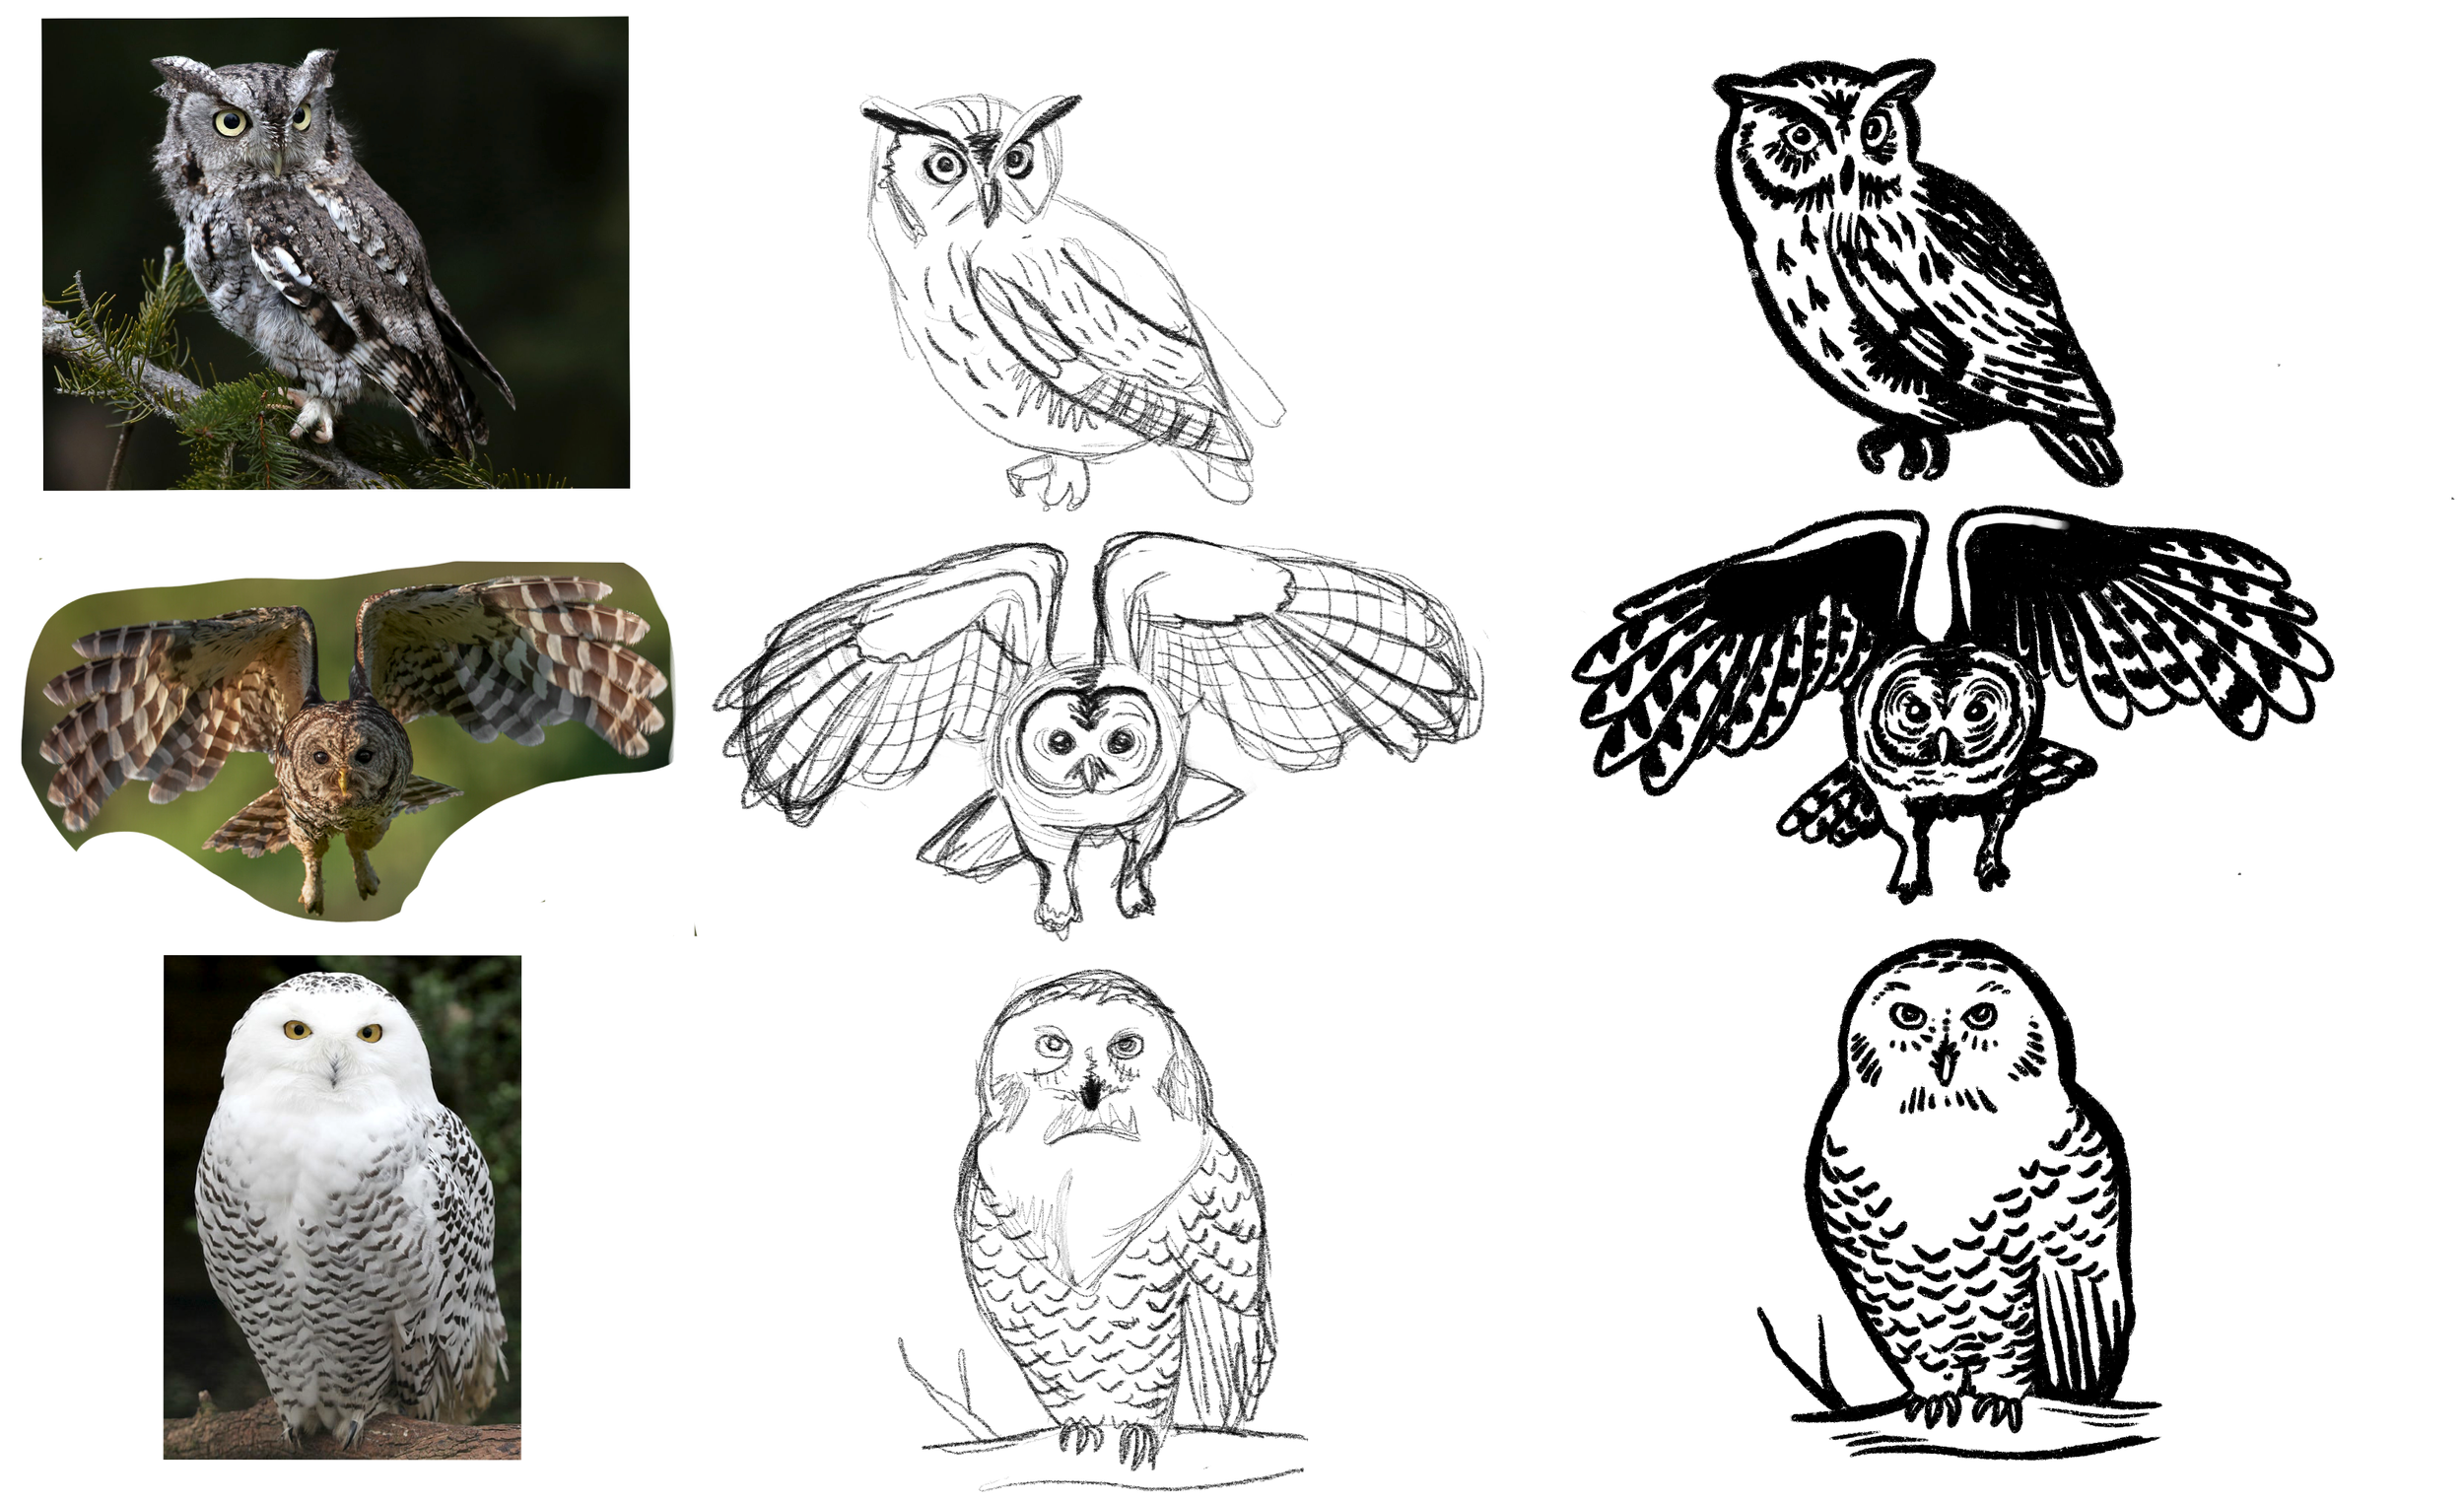
Create your Image
Start with a sketch on your practice paper. Looking at a photo of your bird of choice, first pencil sketch to capture the basics. Next, use your sharpie to trace your sketch. It’s best to keep things simple because tiny lines are hard to carve!
Little Ram Studio
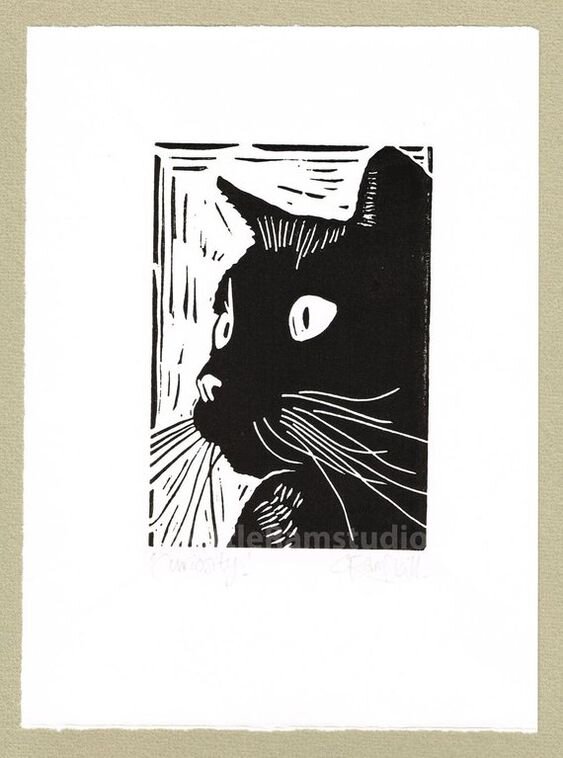
Think about…
WHITE LINE -creating lines by carving out material, see whiskers on right
BLACK LINE - creating lines by carving out everything around a drawn line - see background marks, left whiskers
Before You Carve
Think about how to use your block - can you get more than one shape out of it?
-Don’t forget that when you print, the design will be reversed - so carve text and images backwards
-Grab knife/scissors cut out shape
-Carve to add detail
Transfering Sketch to Block
using a graphite transfer method
Printing Your Block
1.On a piece of glass/plastic, squeeze a thin line of ink at least the width of your brayer. Gently roll brayer through ink and draw ink down, working back and forth until the ink is evenly distributed on the brayer.
2.Roll inked brayer onto block. Hold the block up to the light and check that the finish is even, there are no edges or dry spots showing in the wet ink.
3. Get your chipboard or paper ready to print on your protected surface (throw down some newspaper onto something hard and flat).
4. Flip block upside down and place on fabric.
5. Push with the ball of your hand, or use rolling pin or glass to distribute pressure evenly across the entire block.
6. Peel block off of fabric and check print!
-If the ink is not a flat consistent black, check your inking before printing. Then, check your printing surface- if it’s not totally flat, imperfections can occur.
-If your fine lines start to disappear- dig them deeper!
-If lines ink up that you want to eliminate, carve out or cut block.